When the power goes out, most people picture the moment it happens – the lights cut, the Wi-Fi drops, the sump pump stops, the fridge starts warming up, and the house gets quiet in all the wrong ways. The whole house generator installation process is what determines whether backup power feels automatic and dependable or turns into one more problem during a storm.
For homeowners and business owners, this is not just a product purchase. It is an infrastructure decision. You are trusting a contractor to size the system correctly, place it safely, coordinate permits and utility requirements, complete fuel and electrical connections to code, and make sure the generator actually performs when the outage is real. That is why the process matters as much as the equipment.
What the whole house generator installation process should accomplish
A properly managed installation should do three things well. First, it should match the generator to the real electrical demands of the property, not a guess. Second, it should be built for safe, code-compliant operation. Third, it should leave you with a system that is tested, supported, and ready for long-term use.
That sounds straightforward, but a lot can go wrong when contractors cut corners. Oversized systems cost more than they need to. Undersized systems may struggle to carry air conditioning, heating equipment, pumps, refrigeration, or business-critical loads. Poor placement can create clearance violations, noise concerns, or service access problems. Weak follow-through on permits, inspections, or startup can delay the project or leave the owner carrying the risk.
A good installer removes that uncertainty. The process should feel organized from the first visit through final handoff.
Step 1: Site visit and load assessment
Every reliable project starts with a real evaluation of the property. This is where the contractor looks at how the building is wired, what appliances or equipment must stay online, what fuel source is available, and where the generator can be installed.
For a home, that usually means reviewing large loads like air conditioning, electric heat, well pumps, sump pumps, kitchen appliances, medical equipment, and internet or office needs. For a business, the conversation often centers on operational continuity – point-of-sale systems, refrigeration, lighting, servers, security, or critical machinery.
This is also where the installer decides whether the best fit is whole-home backup or a more selective essential-load approach. It depends on budget, fuel capacity, and the property’s electrical profile. Some customers want the house to operate almost normally during an outage. Others care most about preventing frozen pipes, spoiled food, flooded basements, or work disruption.
Step 2: Generator sizing and system design
Once the loads are clear, the contractor sizes the generator and designs the system around the property. This is one of the most important parts of the whole house generator installation process because it affects performance, cost, and long-term satisfaction.
Sizing is not just about square footage. Two homes of the same size can have very different demands depending on HVAC type, water heating, cooking equipment, and how much of the home the owner expects to run during an outage. The same applies to commercial spaces. A small office may need very little backup power compared with a restaurant, medical practice, or retail operation.
The installer also determines the transfer method, usually through an automatic transfer switch. This is the component that detects utility loss, starts the generator, and moves the building from utility power to generator power safely. The location of the transfer switch, the electrical service setup, and any needed panel work all factor into the design.
Fuel planning happens here too. Natural gas is convenient where available, but gas capacity still needs to be confirmed. Propane can be an excellent option, especially in areas without natural gas service, but tank sizing and refill planning matter. The right fuel setup depends on site conditions and outage expectations.
Step 3: Permits, approvals, and utility coordination
This is the part many property owners do not see until they are in the middle of it. A standby generator installation often requires permits, inspections, and coordination with local authorities or utility providers. If this is handled poorly, the project can stall.
A professional contractor manages these details upfront. That includes preparing permit submissions, addressing local code requirements, confirming setback and placement rules, and coordinating any electrical or gas utility involvement if needed. Some jurisdictions are straightforward. Others have stricter rules around location, sound, fuel connections, or service upgrades.
This step is one reason low-price quotes can be misleading. The number on paper may not reflect the actual administrative work, code requirements, or corrective work needed to install the system properly.
Step 4: Preparing the site
Before the generator arrives, the site needs to be made ready. That usually means creating a stable base, confirming clearances, and making sure the location allows safe operation and future service access.
The placement cannot be treated like an afterthought. Generators need proper spacing from doors, windows, vents, gas meters, and property lines based on manufacturer requirements and local code. The unit also needs room for technicians to maintain and repair it later. A generator tucked into a hard-to-reach corner may look tidy, but it can create service problems down the road.
Drainage matters too. The system should not sit where water collects or snow and ice create recurring access issues. A dependable installation accounts for weather, not just appearance.
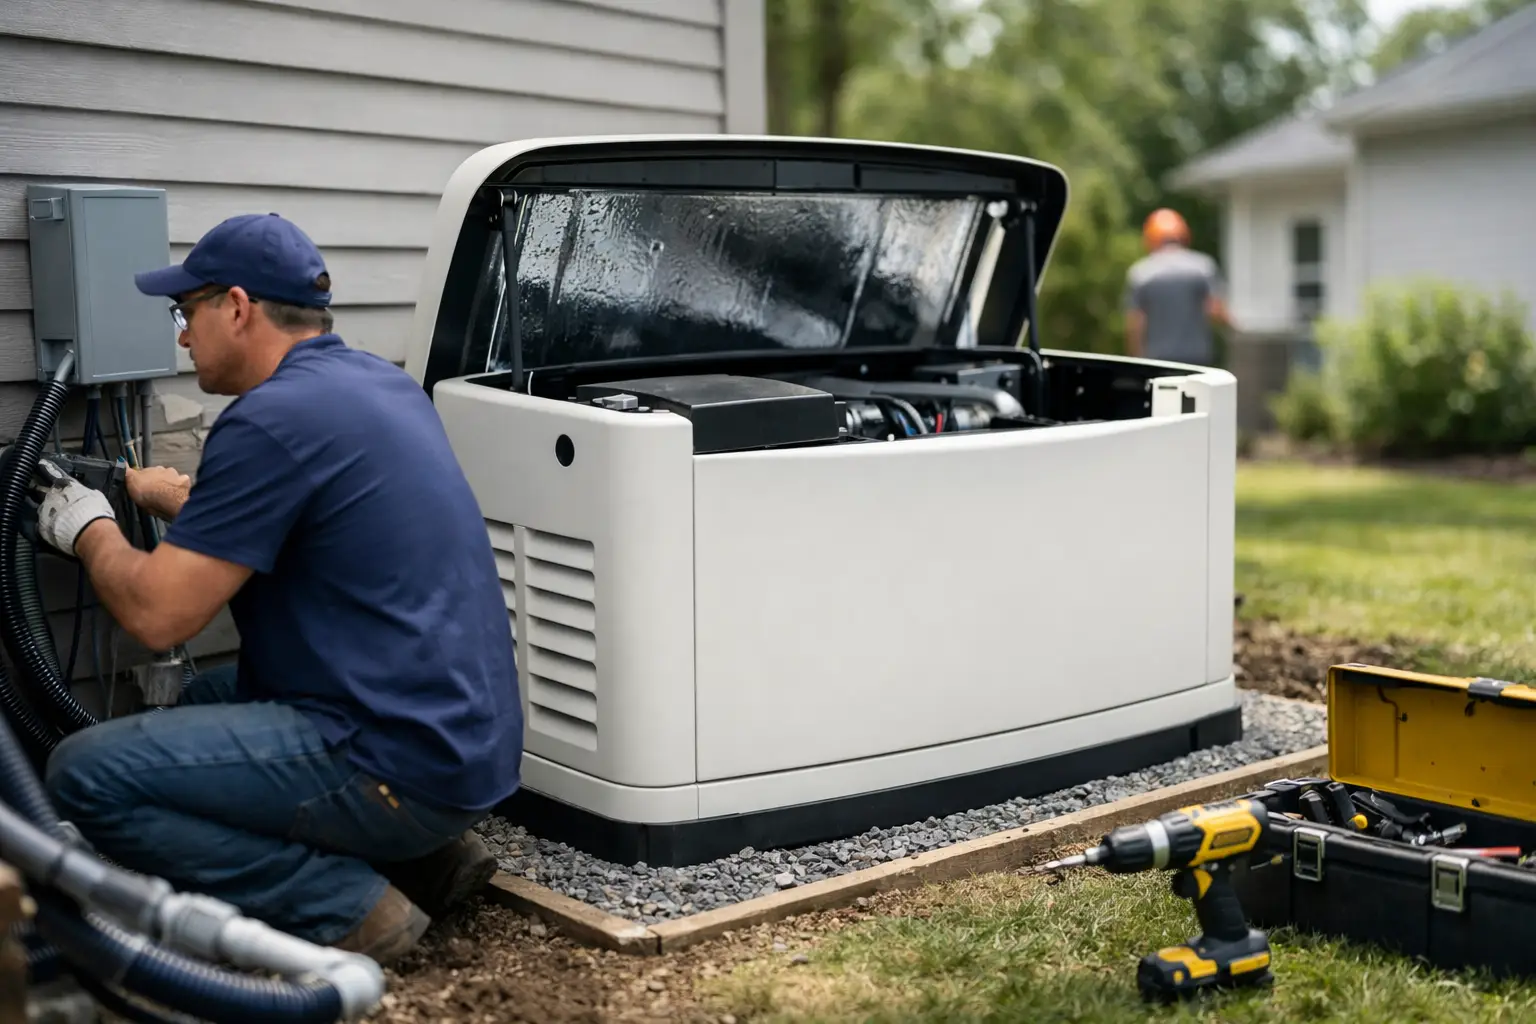
Step 5: Generator setting, gas work, and electrical installation
Once the site is ready, the equipment is set in place and the core installation begins. This phase usually involves both licensed electricians and licensed gas or fuel technicians, depending on the fuel source.
The gas side includes running and connecting the fuel line, pressure testing where required, and making sure the supply is adequate for the generator under load. This is a critical detail. A generator can be installed beautifully and still perform poorly if the fuel supply is undersized.
On the electrical side, the team installs the automatic transfer switch, completes the necessary wiring, integrates the generator with the service equipment, and makes sure the system is bonded and protected correctly. If the property needs electrical upgrades to support the installation, those should be identified early, not discovered on install day.
This is not a place for improvisation. Backup power systems need clean, code-compliant workmanship because they tie directly into the building’s electrical infrastructure and are expected to operate during stressful conditions.
Step 6: Startup, testing, and inspection
A generator is not truly installed when the wiring is complete. It is installed when it has been commissioned, tested, and verified under real operating conditions.
That means checking startup and shutdown functions, transfer switch operation, voltage output, fault codes, battery charging, and control settings. The installer should simulate a utility outage and confirm the sequence works properly: utility power drops, generator starts, the transfer switch transfers the load, and the building powers back up as intended.
If local inspection is required, that should be completed before the job is considered finished. A reliable contractor does not rush past this stage. Testing is where details get caught before the next storm does.
Step 7: Owner walkthrough and ongoing service plan
The final step is not just handing over a manual. The owner should understand what the generator does automatically, what to expect during an outage, how exercise cycles work, what alarms or indicators matter, and who to call if service is needed.
This is also the right time to talk about maintenance. Standby generators are not set-and-forget machines. They need regular inspections, battery checks, oil and filter service, software or controller review when applicable, and periodic testing. Long-term reliability comes from proper installation plus proper support.
That is where full-service companies stand apart. GenTek Power, for example, is built around the idea that installation is only the beginning. Customers want to know that the same company that sold and installed the system will still answer the phone when the weather turns bad.
What can change the timeline?
Most projects move through the same basic stages, but the timeline can vary. Permitting delays, utility coordination, fuel supply upgrades, weather, equipment availability, and electrical service complications can all affect scheduling.
Simple residential installs may move quickly once approvals are in place. More complex homes and commercial properties can take longer, especially if the project involves larger service equipment, multiple panels, propane storage coordination, or site access challenges.
The best approach is transparency. A good contractor sets expectations early, explains what could affect timing, and keeps the customer informed instead of going quiet once the deposit is paid.
Choosing the right installer matters as much as the generator
There is a reason experienced buyers look past the lowest quote. The whole house generator installation process involves safety, code compliance, fuel systems, electrical infrastructure, and long-term service responsibility. If any of those pieces are weak, the system may not protect the property the way it should.
The right installer brings clear sizing recommendations, detailed quoting, licensed trades, permit management, careful testing, and support after the sale. That lowers risk from the first meeting onward.
If you are considering backup power, ask as many process questions as product questions. A generator only proves its value on the day the grid fails, and by then, every installation decision has already been made.